


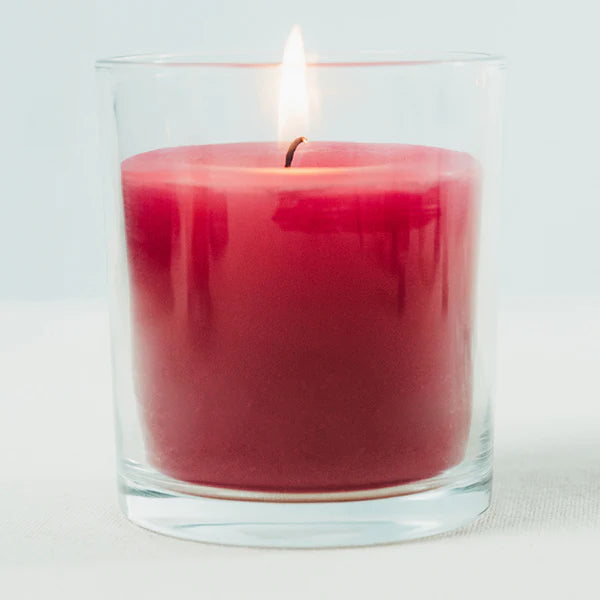
Ahh, the cozy feeling of homemade beeswax candles! Nothing beats their warm, inviting glow, especially during a soothing bubble bath or a relaxing night in.
Carmel Pure Beeswax is all-natural, triple-filtered, and made without additives or synthetic ingredients. Let's chat about the most common questions regarding candle making. After all, it can be daunting at first! Don't worry- I'm here to help and have a step-by-step video to guide you along the way.

Can I add essential oils?
Luckily, beeswax has a wonderful, natural honey scent, but if you're looking for something extra special, adding essential oils can take your candles to the next level. The only problem is that beeswax doesn't hold onto scent as well as other waxes, so you'll need to use strong scents like peppermint, eucalyptus, or lavender.
What kind of beeswax should I use?
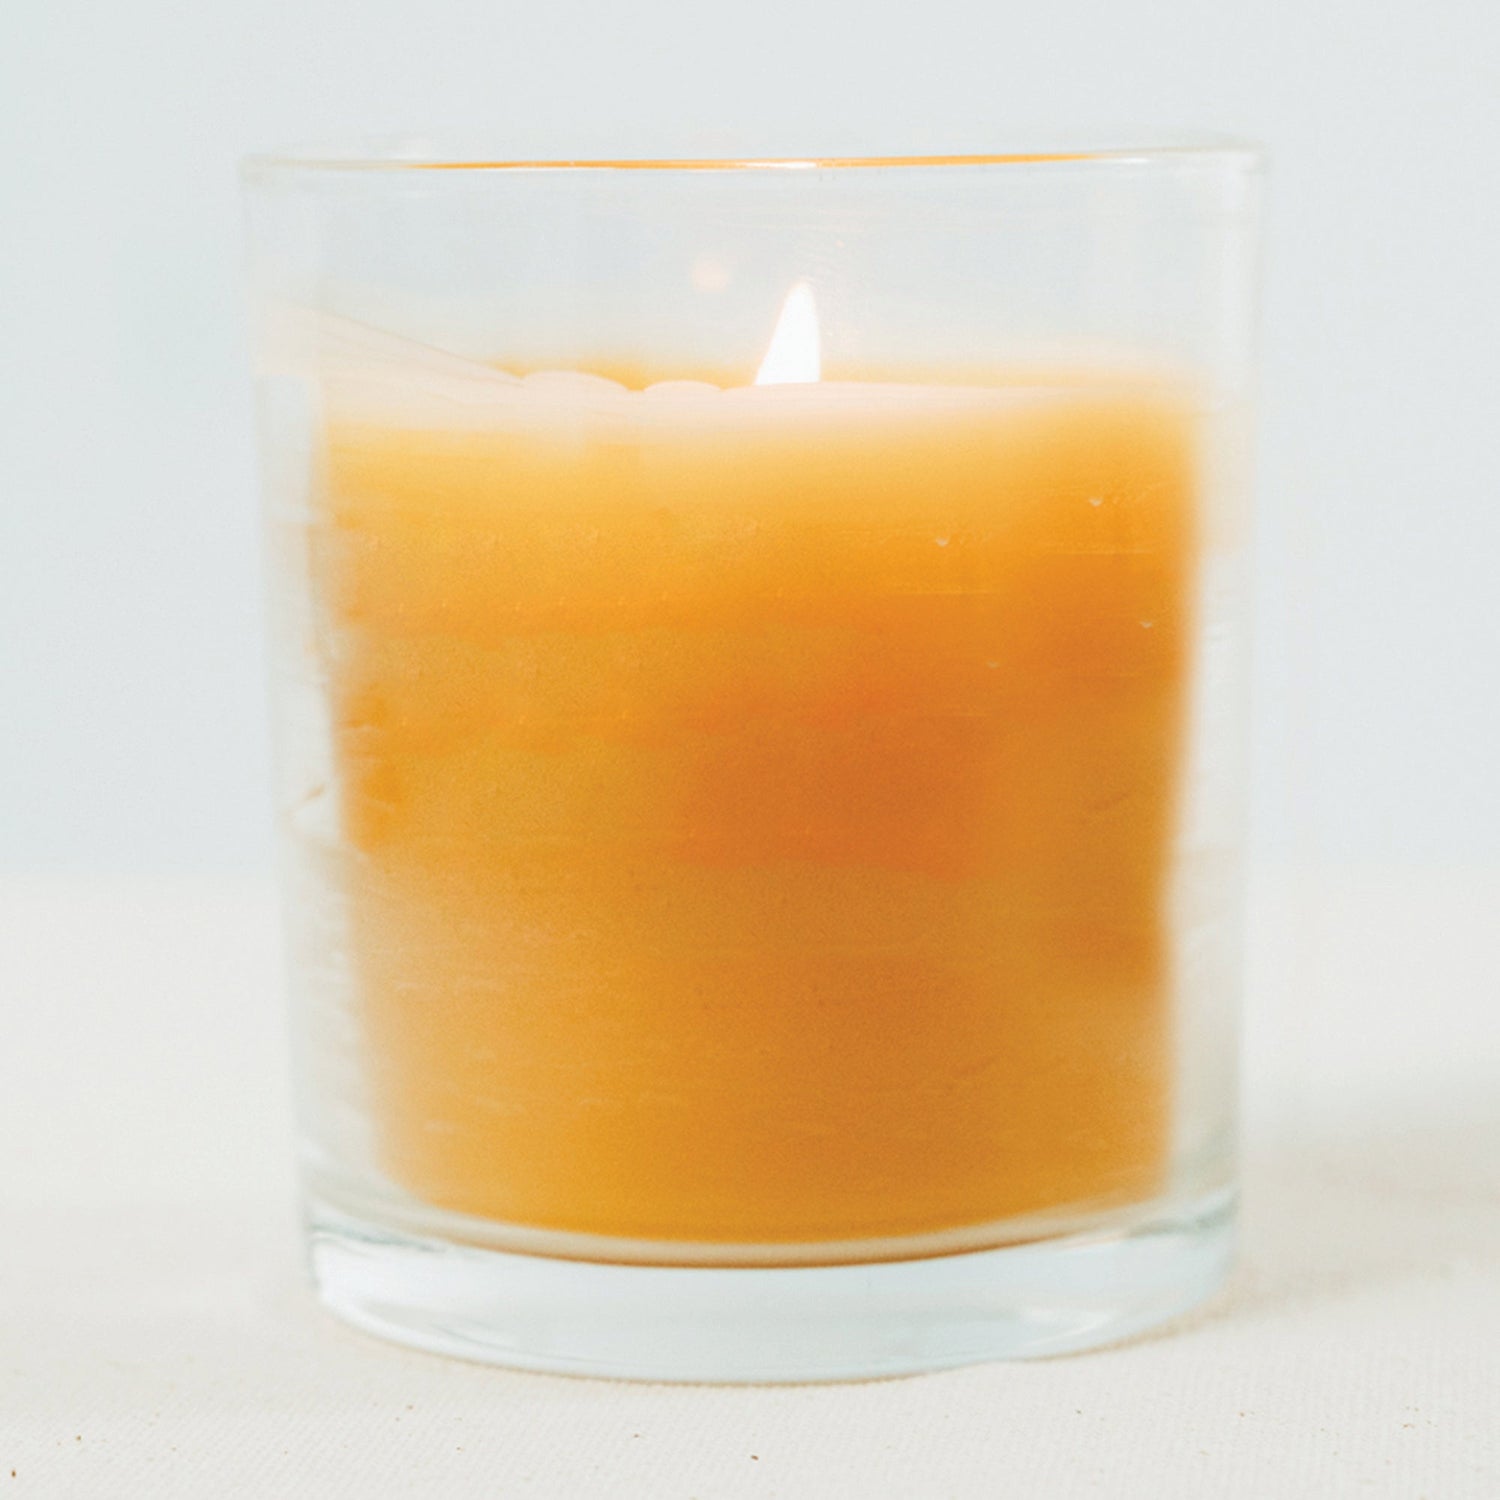
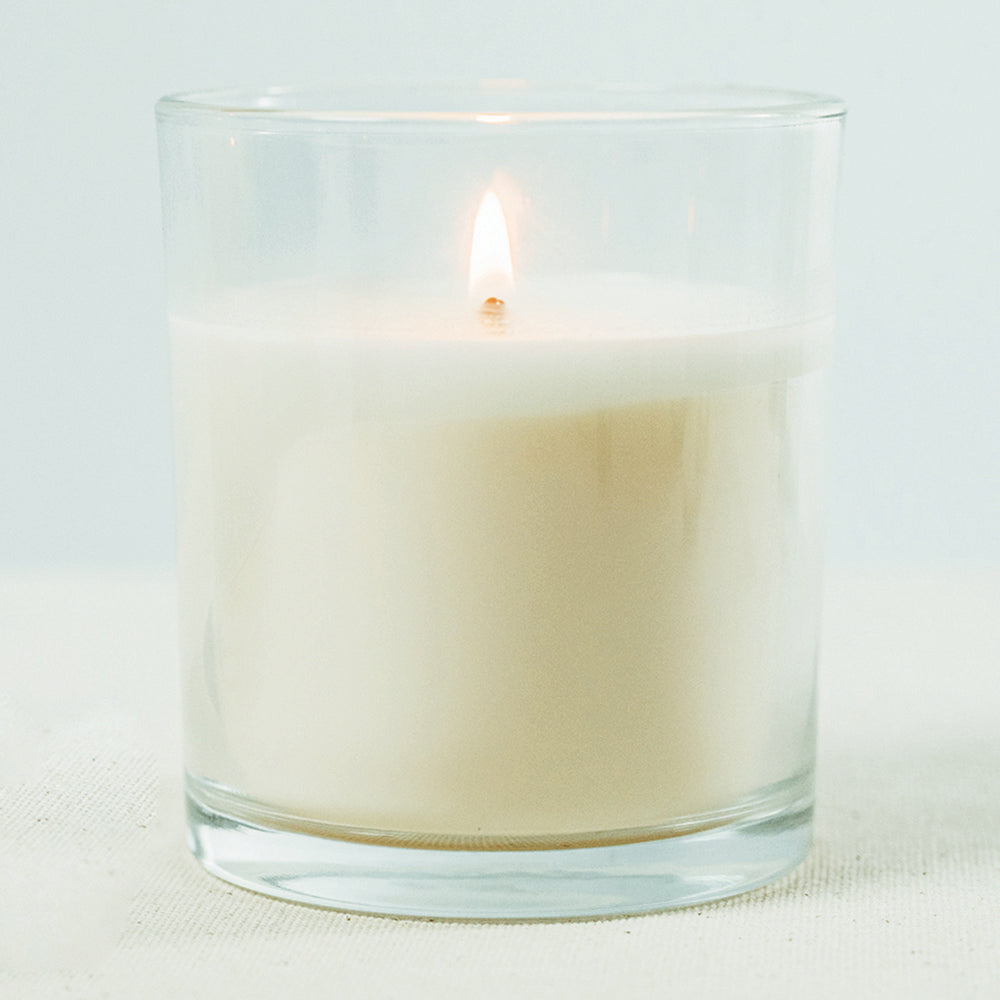
For this tutorial, you'll need one pound of beeswax, which you can find on Carmel's online store. Our beeswax comes in two colors, natural yellow beeswax, or another option is our white beeswax which has the color naturally removed.
How many candles will a one-pound bag of beeswax beads make?
With a one-pound bag of beeswax beads, you can make two 8-ounce candles,or four 4-ounce candles - totaling 16 ounces. Or, if you want to be creative, mix it up and make one of each size. For example, one 12-ounce, one 8-ounce, and one 4-ounce candle.

What will I need?
Shopping list:
- One pound of beeswax.
- 1-2 tablespoons of essential oil. (optional)
- Medium cotton wicks. (Beeswax candles are awesome 'cause they burn nice and slow, so you need a thicker, sturdier wick than you'd use for paraffin candles.)
- Wick tabs attached.
- Wick stickers.
- Jars
- Chopsticks or wooden spoon.
- Scotch Tape.
- Pencil or Popsicle Sticks.
Step-By-Step Instructions
Step 1: Pick up your wick (with wick tab attached) and wick stickers, pull one of the wick stickers off the roll and place it on the wick tab, then peel the paper off the exposed side of the wick sticker.
Step 2: Attach the wick to the bottom center of the jar.
Step 3: Melt wax in a double boiler. If you don’t have a double boiler, you can create one by placing one inch of water in a pot, placing a smaller pot or stainless steel bowl inside, and bringing the water to a low simmer.
Step 4: When the beeswax is melted, after approximately 30 minutes, add essential oils if desired. Stir the beeswax and essential oils (if using) together. #Hack- Use a wooden chopstick so you don’t have to clean it after ;)
Step 5: Pour wax into jars.
Step 6: Set the wick so that it’s in the center. You can do this by placing a pencil across the jar and taping the wick to it.
Step 7: Place the candles in a warm area to harden, because if they cool too quickly the wax will sometimes crack. I usually preheat my oven to 170F while I’m pouring the candles, then turn the oven off and place them inside.

The ughhhh Clean Up
Can't we get to the part where the candle is lit while we sip champagne in the bath? Well, yeah! Here's a cool clean-up hack that makes getting rid of beeswax a breeze! Just preheat your oven to 200F, turn it off, and pop in the bowl you melted the wax in. In no time, the wax will be melted, and you can easily wipe it away with paper towels. Then, give it a good scrub with soap and water, and you're all set! Pop the Champs!
Then What?
Before you light up your new candle collection, let them cure for two days and trim the wicks to 1/4 inch. When you light the candle, concentrate the flame at the base of the wick so some wax melts and is drawn up. This helps it burn properly.
Safety First!
Just a friendly reminder to keep an eye on any candles you have lit, and make sure they're not in the reach of lil ones.
Well, there you have it, my candle-making babes! I hope this blog was helpful and inspired a new hobby! Making candles is a wonderful way to express your creativity and bring a bit of warmth into your home. I wish you all the best of luck in your candle-making journey, and know that you will come up with some amazing creations! Make sure to share your results with us by tagging us on Instagram or sending us an email– we’d love to see your candle creations!

1 comment
Sam Andrews
Phew! I felt so relieved once you reassured us that beeswax candles contain zero synthetic substances. I need some decorations for a surprise private dinner I plan for my wife this weekend. I’ll surely look further into this option when making a purchase shortly. https://registerfamilyfarm.com/collections/beeswax-candles
Phew! I felt so relieved once you reassured us that beeswax candles contain zero synthetic substances. I need some decorations for a surprise private dinner I plan for my wife this weekend. I’ll surely look further into this option when making a purchase shortly. https://registerfamilyfarm.com/collections/beeswax-candles